
How to Replace Your Water Filter Cartridges
Enjoy Cleaner, Healthier Water – Every Day
Clean, safe water is essential to your family’s health and wellbeing. One of the best ways to maintain water quality throughout your home is with a reliable water filtration system. But to keep your system working efficiently, you need to replace your water filter cartridges regularly.
In this guide, we’ll walk you through how to change water filter cartridge step-by-step. Whether you’re using a whole house filtration system, an under-sink unit, or a reverse osmosis system, regular maintenance is key to ensuring clean, contaminant-free water in your home.
Experience the purity of water, every day. Clean, safe water is central to a healthy, thriving life, and one of the most reliable ways to ensure pure water throughout your whole house is with a high-quality water filtration system. These systems work tirelessly to purify your water by removing contaminants, chemicals, and impurities.
In operation, the replacement of the filter cartridges should be done quite frequently in order to effectively enjoy your filtration system. Here, we show you how to change your water filter cartridge and ensure that each day, your family will have access to fresh healthy water.
Why Home Water Filtration Matters
Before we get into the detailed steps on how to change a water filter cartridge, let’s briefly flag why home water filtration is such an important process to begin with. While many people make sure they filter their drinking water, filtering whole home water is just as important for a number of reasons.
How long do water filter cartridges last? Typically, water filter cartridges last anywhere from 6 to 12 months, depending on the type of filter and the quality of your water. Regular maintenance and timely cartridge replacements are essential to ensure that your filtration system continues to deliver clean, healthy water throughout your entire home. Here’s why:
- Whole-Home Protection: Home water filtration systems offer whole-house protection, ensuring that you have clean water for drinking, cooking, bathing, and cleaning. By filtering water right at the entry point, you are protecting your family from exposure to contaminants throughout nearly every part of their daily activities.
- Better Water Quality: If the water supply to the entire house is filtered, even appliances such as washing machines, dishwashers, and water heaters receive cleaner water. These appliances also experience an extended life with less maintenance.
- Health Benefits: Clean water is one of the basic requirements for your health. By filtering out harmful chemicals such as chlorine, sediments, and heavy metals, this ensures that while taking a shower or bath, there is no ingestion or absorption of these contaminants into the body through the skin.
How to Tell if the Cartridge Needs Early Replacement
Although most filter cartridges have a standard replacement cycle of 6-12 months, there are a few telltale signs that may hint that your cartridge needs to be replaced before this period elapses. These include:
- Reduced water flow or low pressure.
- Unusual taste or odor in the water.
- Discoloration or cloudy water.
- Higher levels of contaminants such as sediments or chlorine.
Now that you understand the importance of water filtration, let’s break down the steps to change your home water filter cartridges.
How to Replace a Water Filter Cartridge (Step-by-Step)
Follow these easy steps to replace your home water filter cartridge safely and correctly.
✅ Step 1: Gather the Right Supplies
Before you begin, make sure you have:
The correct replacement cartridge
A filter housing wrench (if required)
Towels or a bucket (to catch spills)
A marker or label (to note the replacement date)
✅ Step 2: Turn Off the Water Supply
Locate your main water valve and shut it off to prevent water from flowing into the filtration system.
✅ Step 3: Relieve Pressure in the System
Open a faucet (hot and cold) to release any built-up pressure inside the system. This prevents water from spraying out during the change.
✅ Step 4: Remove the Filter Housing
Using your hands or a filter wrench, unscrew the housing from the filtration unit. Be cautious — water may spill out.
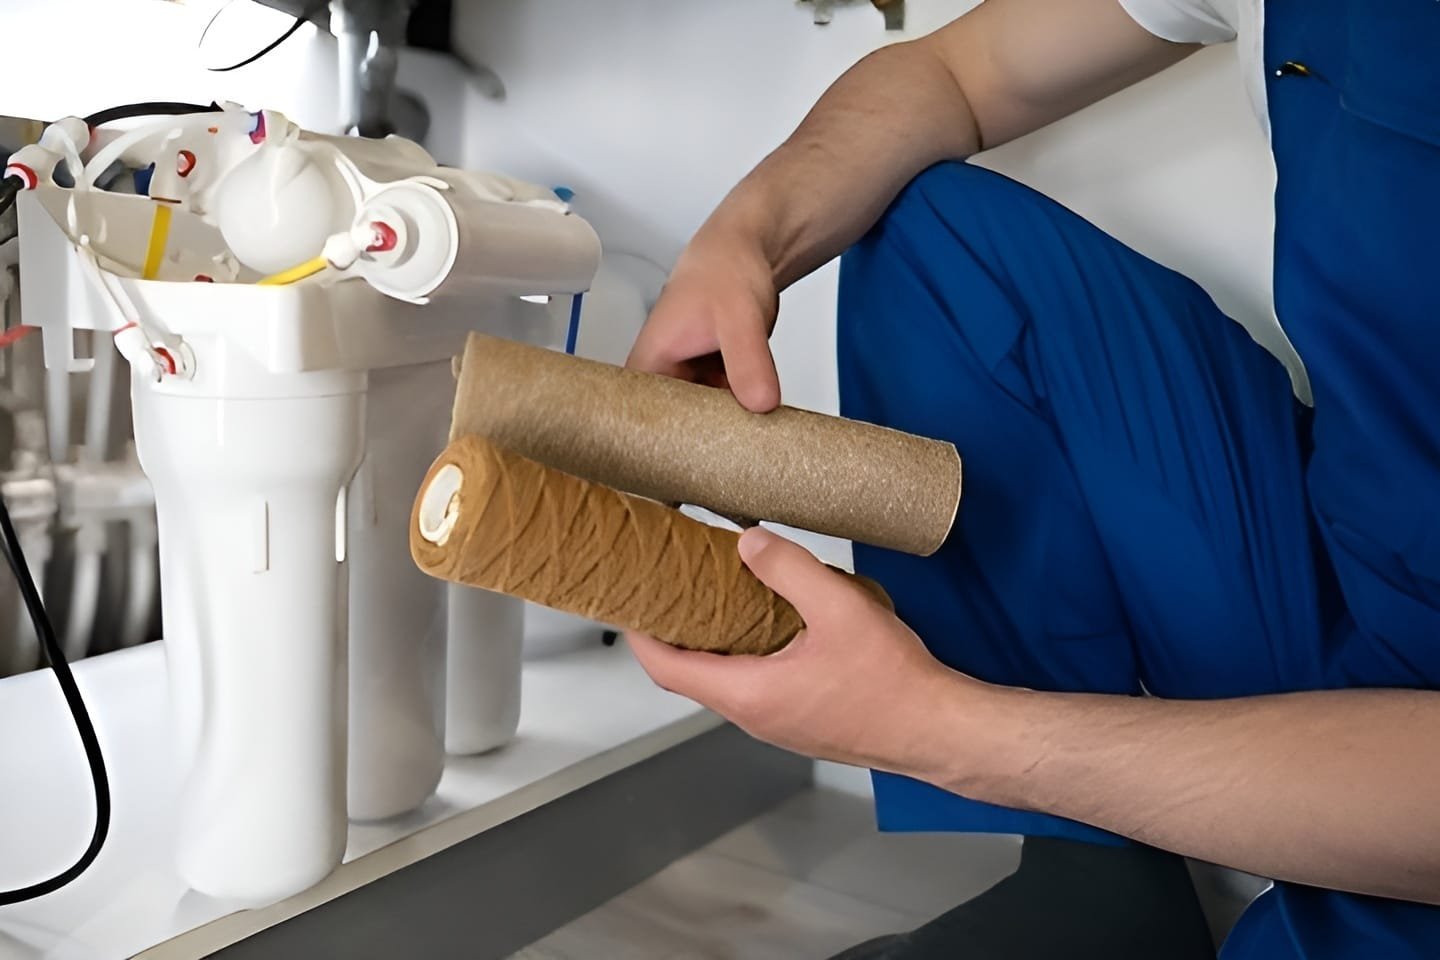
✅ Step 5: Remove the Used Cartridge
Pull out the old cartridge and discard it appropriately. Inspect it for excessive dirt, sediment, or damage.
✅ Step 6: Clean the Filter Housing
Wipe down or rinse the inside of the housing to remove debris or residue. Clean housing = better performance.
✅ Step 7: Insert the New Cartridge
Place the new cartridge into the housing according to the manufacturer’s instructions. Ensure it fits snugly and is centered.
✅ Step 8: Reattach the Housing
Carefully screw the housing back onto the system. Use the wrench if needed, but do not overtighten.
✅ Step 9: Restore Water Flow
Turn your water supply back on. Open a faucet and let the water run for 2–3 minutes to flush out any air or carbon fines.
✅ Step 10: Check for Leaks
Inspect the filter housing area for any signs of leaking. Tighten if necessary and make sure the gasket is seated properly.
✅ Step 11: Record the Date
Use a marker or label to note the installation date. Set a reminder for the next replacement based on your system’s recommended cycle.
Excessive Usage or Heavy Contamination Within the Water Supply.
Watch out! During the changing process of the water filter, some of the common issues that would take place include leaks of water in removing the old filter due to the accumulation of water in the system. To curb any such situations, it is important first of all to ensure that the supply of water is completely off before the commencement of the replacement. To do this, have towels or a bucket handy to absorb any spilled water.
Other possible issues are when the old filter is hard to remove. You can try a filter wrench to open the housing, or refer to the user manual for specific instructions on how to open the housing. If, after installing the new filter, leaks are noticed, ensure that the housing is sealed properly and gaskets are in their place.
⚠️ Common Problems & Troubleshooting
Leak during filter change?
Make sure the water supply is fully off. Also check that the housing o-ring is clean, lubricated, and seated correctly.
Old filter stuck?
Use a filter housing wrench for extra grip. Refer to your system’s manual for specific disassembly tips.
Leaks after replacing?
Ensure the housing is tightened correctly and the o-ring is undamaged. A misaligned o-ring is a common cause of leaks.
💡 Why Choose Pure N Safe for Your Water Filtration Needs?
At Pure N Safe, we are committed to offering you the best water filtration systems, assuring clean and safe water for your whole household. Our advanced filtration systems ensure contaminant-free water, hence keeping your family healthy and appliances long-lasting. It is always a good practice to change the water filter cartridges regularly in order to allow your filtration system to operate smoothly and effectively.
Wondering how often to change water filter cartridge? The general recommendation is to replace them every 6 to 12 months, depending on the usage and the specific type of filtration system you have.
If you’re unsure about how to change a water filter cartridge, our team is always available to guide you through the process and provide any necessary support. Our products are easy to maintain, ensuring long-lasting, pure water every day.
Whether you need to replace your water filters or you are searching for a new filtration system, we’re here to help! Feel free to contact us on 1 300 890 807 to consult experts or assist in letting you pick the ideal system for your specific needs. We will always be ready to make the water in your home as clean and safe as possible.
🛒 Shop Water Filter Cartridges Online
Browse our wide range of replacement water filter cartridges, RO membranes, and whole house filtration solutions. Order online with fast shipping and start enjoying cleaner water today.


